SHANGHAI MICROCRE OPTICS-MECH TECH CO., LTDAbout MICROCRE400-812-7833
METHODS

Metallographic preparation: five steps to preserve the microstructure

Preparation should reveal the actual microstructure, not merely produce a shiny surface. Cutting heat, polishing deformation, particle pull-out and edge rounding can change the interpretation. Select a process from material hardness, phases, porosity and the observation goal, then refine it through checks between stages.

Theory & worked calculations

Item

Translation pending review.

薄层保边:5%的厚度差从哪里来:模型与量纲

Equation

Translation pending review.

Δt=t2−t1;相对差=Δt/t1×100%

Variables & dimensions

Translation pending review.

第一阶段厚度=80 µm;第二阶段厚度=76 µm

Assumptions & limits

Translation pending review.

比较条件必须一致。薄层真实起伏、截面倾斜、不同测量方向和界面阈值均会造成差异;本例不代表任何耗材的性能排行。

Worked example

Translation pending review.

假设输入演算:76−80 = -4 µm;−4/80×100 = -5 %。第二次测量低5%仅说明两次读数不同。结合倒圆图像才能提出制样影响假设;若没有独立参考、多个测点和重复试样,无法把第一次数值当作无误差真值。

Reporting requirements

Translation pending review.

以试样编号关联原始图像、测量序列、设备配置及方法版本。

Translation pending review.

分别报告重复性、异常处理及本模型未覆盖的影响因素,不用演算示例替代实测。

Common misconceptions

Translation pending review.

表面发亮不证明组织未受损伤;要分别检查残余变形、倒圆、拖尾和拔出。

Translation pending review.

不能只复制磨抛时间而忽略材料、夹持、耗材状态与阶段检查结果。

Workflow & steps

01

Orient and section

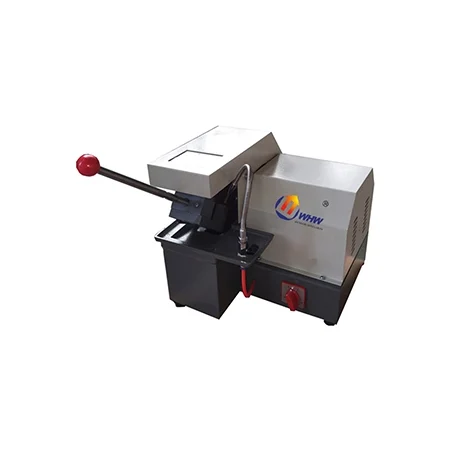
Mark specimen location and orientation, selecting a section that addresses the question. Match the blade, fixture and cooling method to the material. Control feed and heating, leaving enough material to remove the sectioning-damaged layer.

02

Mount and protect edges

Choose suitable mounting for small specimens, thin layers or edge-sensitive sections. Consider cold mounting for heat- or pressure-sensitive samples. Decide whether to impregnate porous material according to the observation goal, distinguishing mounting resin from the original material.

03

Grind progressively

First establish a plane, then move to progressively finer abrasives. Advance only after checking removal of the preceding scratches and deformation. Record abrasive, force, speed and duration, and clean the specimen and holder thoroughly between stages.

04

Polish and inspect artefacts

Remove residual damage using polishing media compatible with the material. Inspect for smearing, relief, pull-out and edge rounding. Trace artefacts to their preparation stage instead of masking them with longer polishing. Preserve images of the unetched surface.

05

Reveal and document

Use a validated etching procedure only when the observation requires it, following laboratory procedures. Link unetched and etched images with preparation records and specimen orientation. Exclude preparation artefacts before interpreting pores, inclusions or cracks.

Checks

  • • Trace section orientation, every preparation stage and consumable batches.
  • • Use the surface condition to determine each endpoint rather than copying fixed times.
  • • Retain corresponding fields before and after etching and discuss preparation effects on quantitative results.

Illustrative example

Teaching example: compare edge profiles after shorter and longer polishing of the same specimen to test whether apparent layer-thickness change comes from rounding. This is a validation exercise, not a customer result or a universal preparation recipe.

Related instruments & resources

Links support navigation and do not establish a model’s performance or standards compliance.

Your next research question. Let’s explore.

Tell us about your material, specimen and measurement goal.

Discuss your application ↗
Find your instrument
⌕
Search products, cases, solutions, standards and literature.